 |
 |
 |
 |
 |
 |
 |
 |
 |
 |
Lobster
8 rooms
| When you see... |
 |
| The boss can be found here. |
Woodlands Entrance
 |
| X 061, Y 025 |
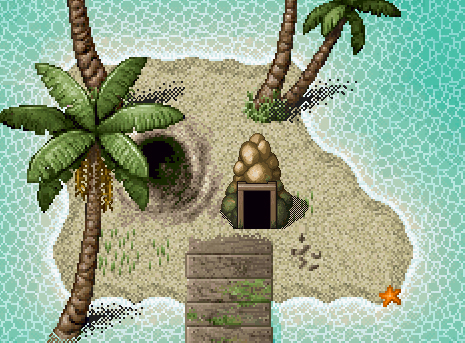
Entrance Room
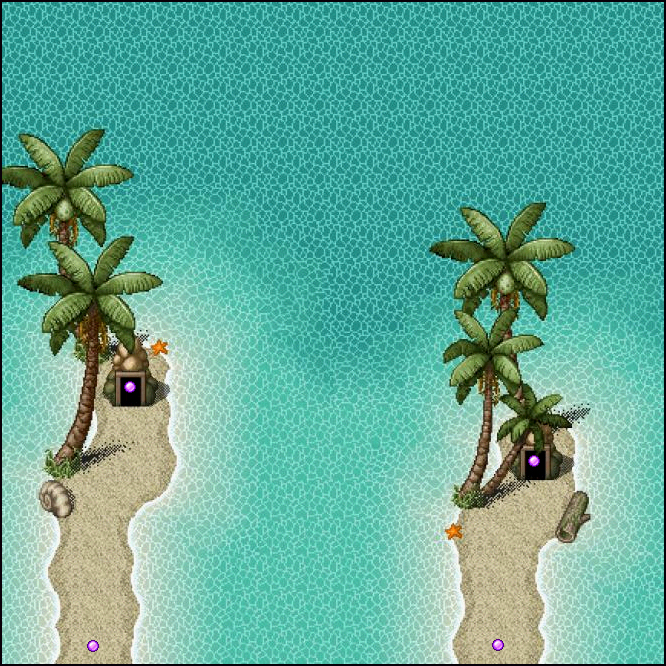
| Sandy Bridges |
|---|
 |
| Coconut Cove |
|---|
 |
| Ghost Port |
|---|
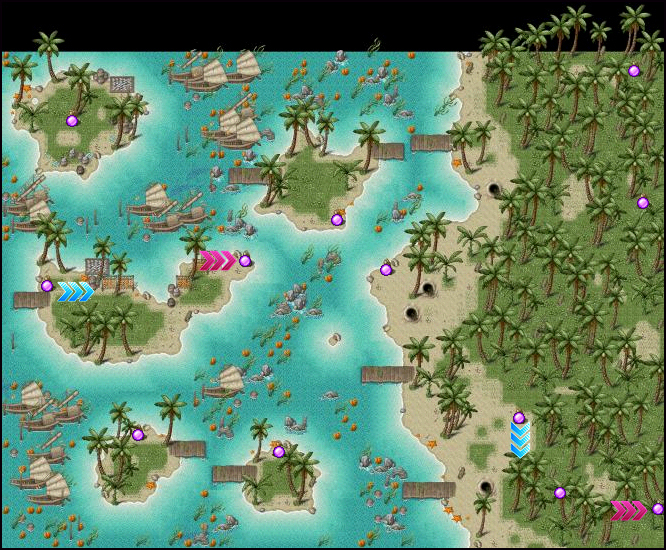 |
The very Bottom Right cave door leads you to the next room.
The other doors take you to various dead-end islands.
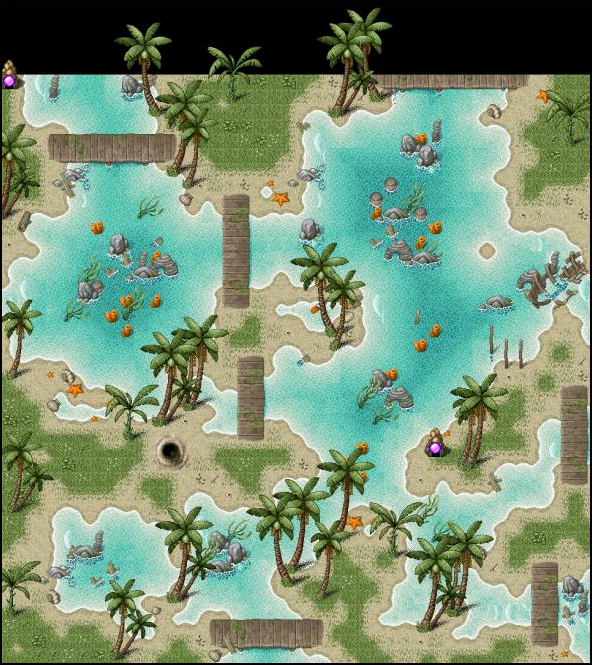
| Sand Swarms |
|---|
 |
Get your mount ready before entering this nightmare.
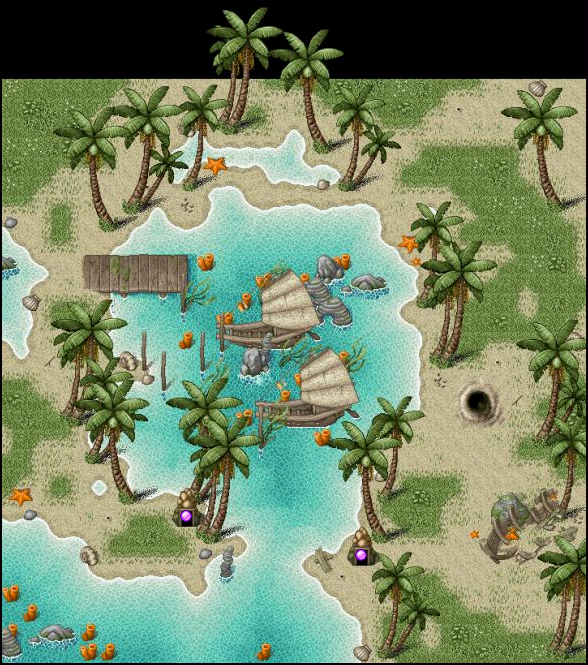
| Lobster Isle |
|---|
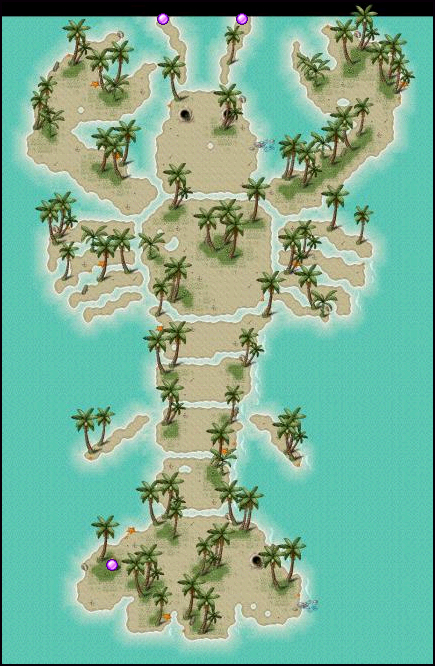 |
Head for the head and choose an antenna to visit.
Each leads to one of the two last rooms.
| Sand Bars |
|---|
 |
If you're looking for the boss, I recommend checking here first.
| Starfish Shallows |
|---|
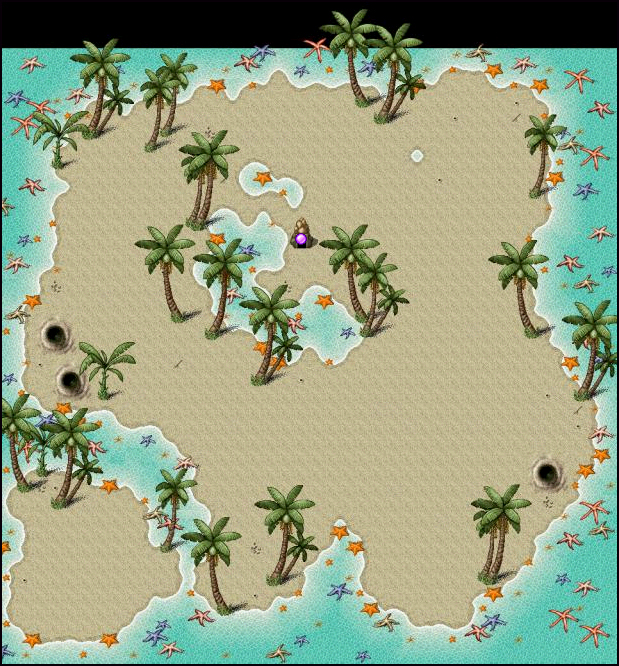 |
| LEFT Entrance from Sand Bars |
Clear a corner and try your best to lure just the boss.
| Sea Shell Shores |
|---|
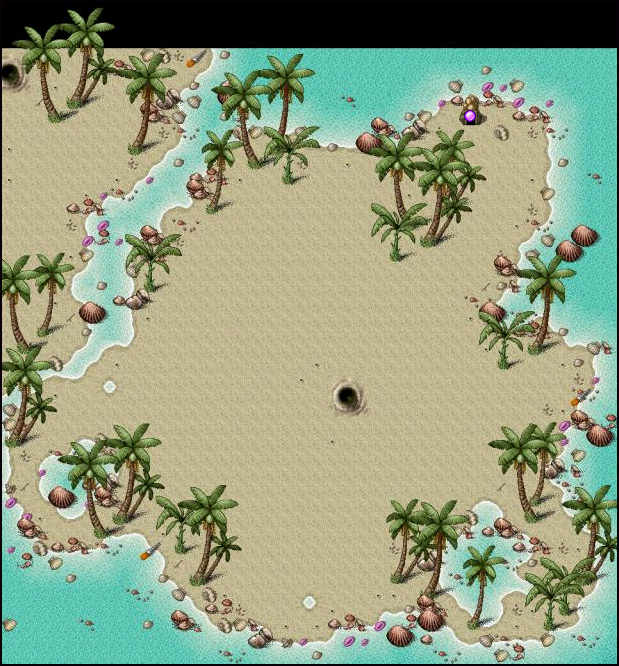 |
| RIGHT Entrance from Sand Bars |
If you're after Yellow Ambers. Lobster Isle is the place to be.